> ## Documentation Index
> Fetch the complete documentation index at: https://docs.t3planet.de/en/latest/llms.txt
> Use this file to discover all available pages before exploring further.
# Connect Clouds/Servers
> We highly recommend to take your backup to another clouds or server, because self-hosted backup is not the secure-way.
We highly recommend to take your backup to another clouds or server, because self-hosted backup is not the secure-way. You can easily add/edit/delete your favourite clouds and servers.
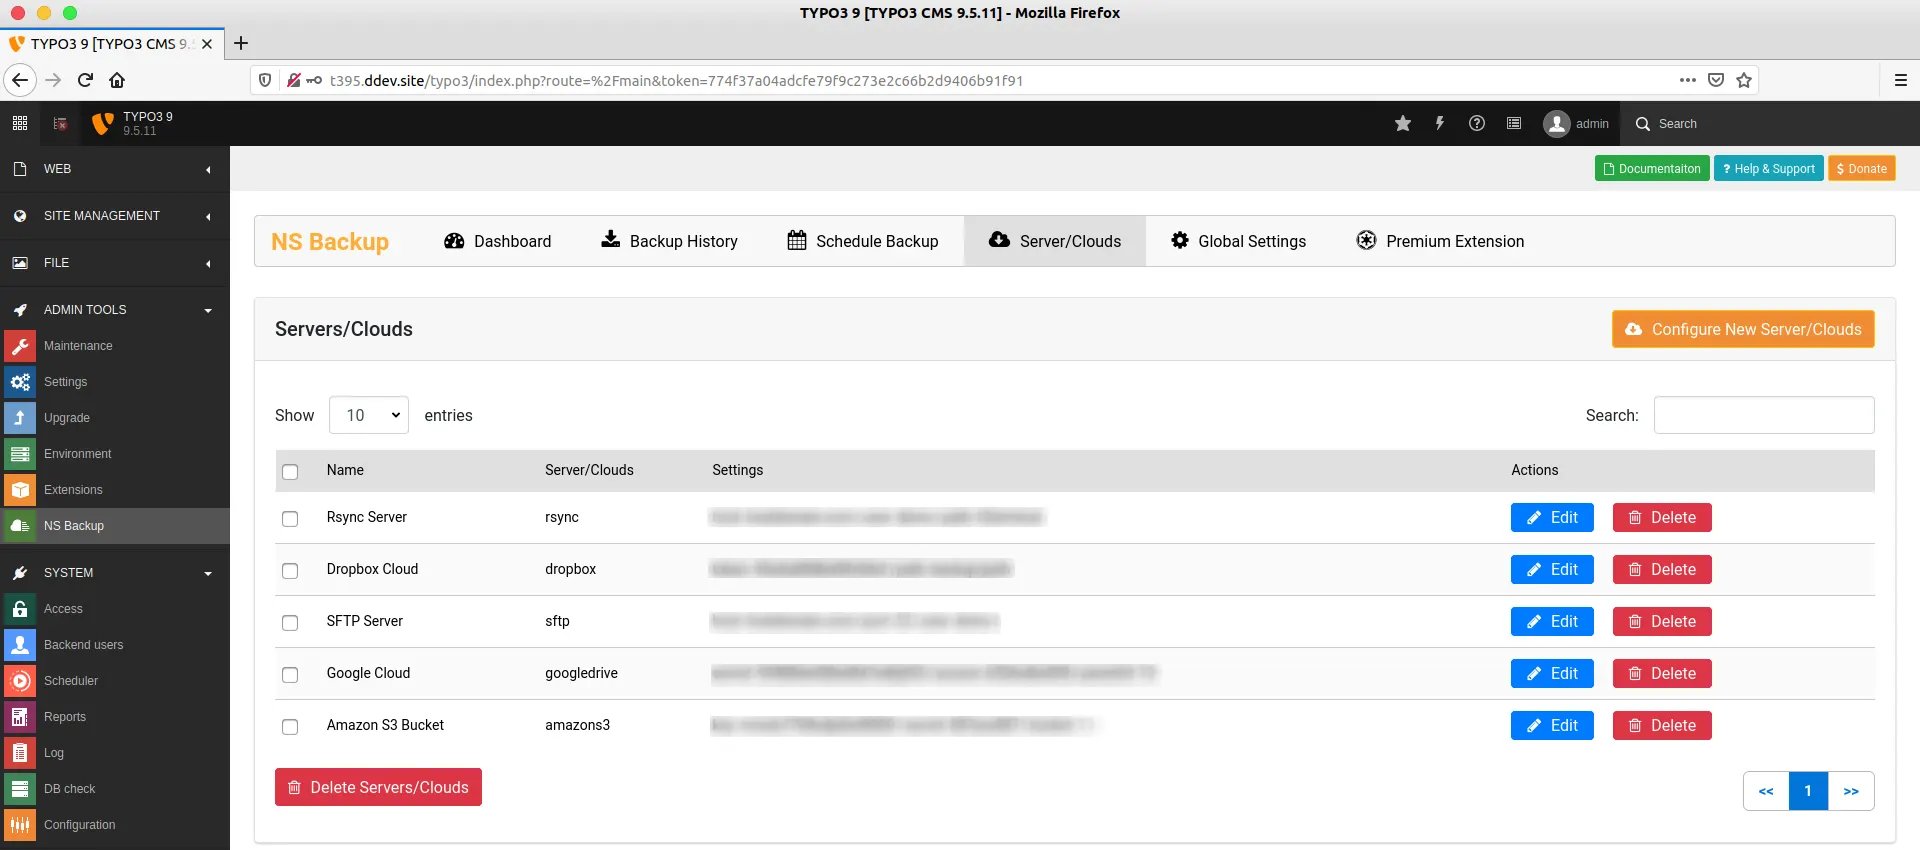 If you will not add any of your clouds/servers, then extension will only take backup at your local-server at /uploads/tx\_nsbackup/ folder
## Add Cloud/Server
Go to Admin Tools > NS Backup
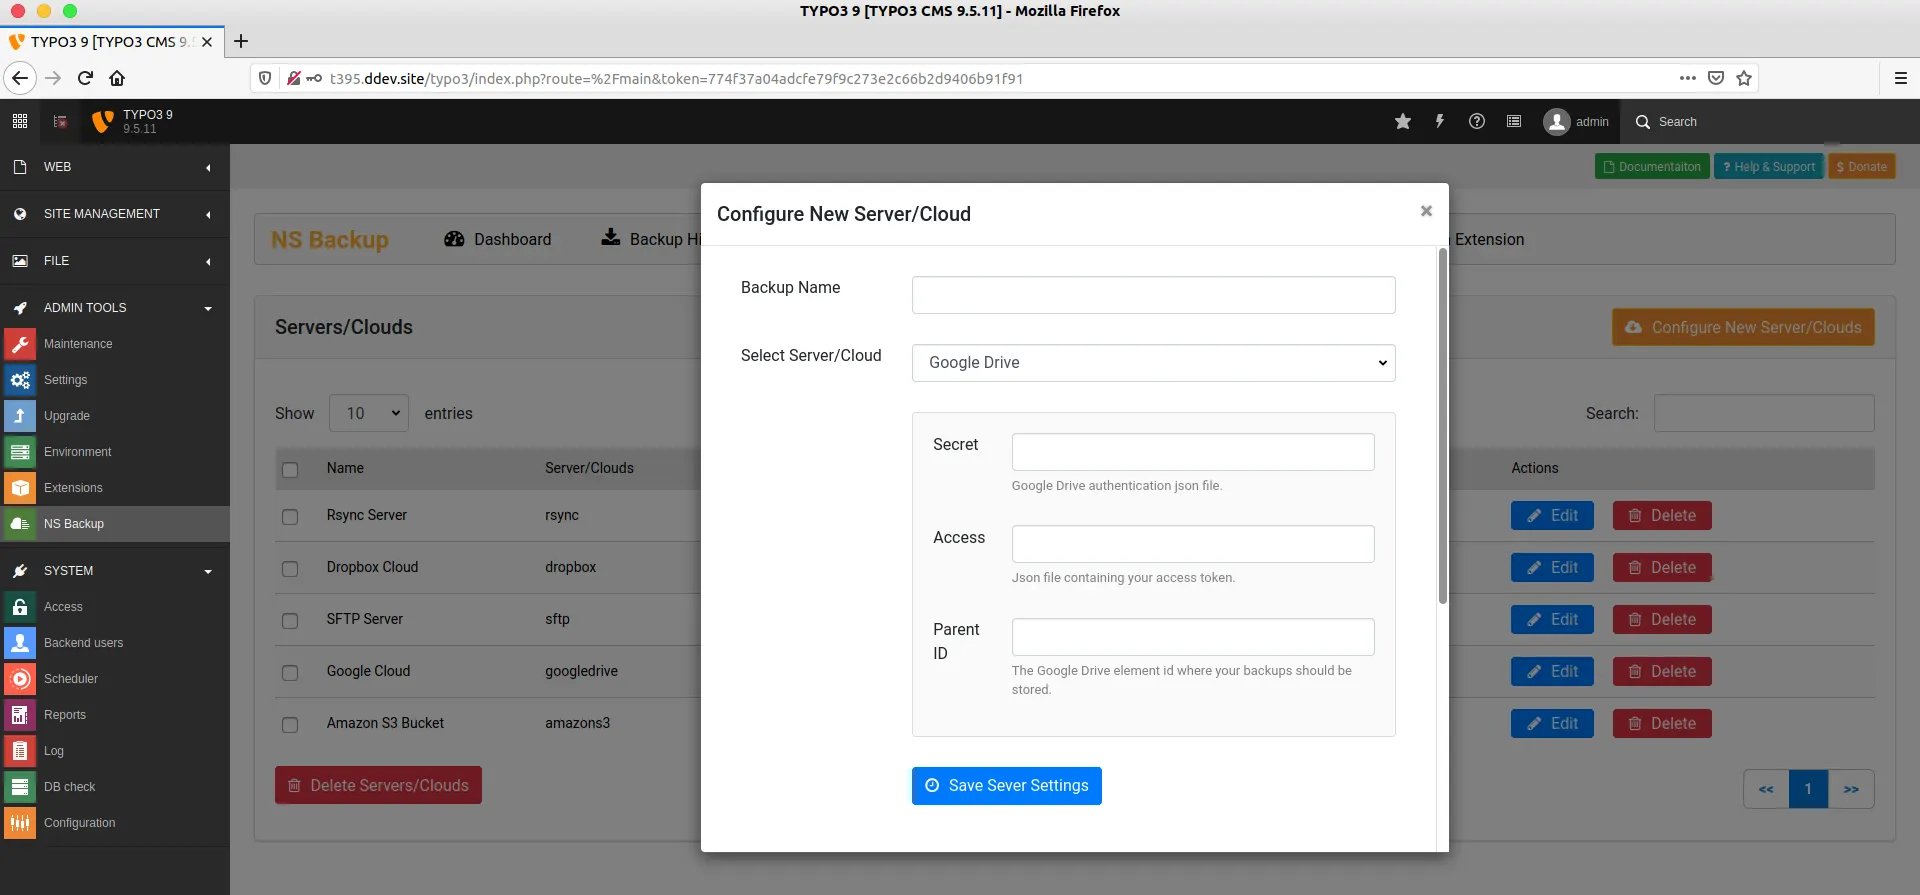
Click on Servers/Clouds Menu, And click on "Configure New Server/Cloud"
Enter the name of your Server for your reference
Choose Your Server/Cloud from dropdown
Based on your selection of server/cloud, You will need to carefully add your server's connection configuration eg., secret key, access etc.
If you will not add any of your clouds/servers, then extension will only take backup at your local-server at /uploads/tx\_nsbackup/ folder
## Add Cloud/Server
Go to Admin Tools > NS Backup
Click on Servers/Clouds Menu, And click on "Configure New Server/Cloud"
Enter the name of your Server for your reference
Choose Your Server/Cloud from dropdown
Based on your selection of server/cloud, You will need to carefully add your server's connection configuration eg., secret key, access etc.