

Start Free Trial
Do you want to try all the premium features of the CKEditor Pack TYPO3 extension?- Cloud-hosted
- 14-day free trial of self-hosted editor
- 1,000 editor loads per month
- Commercial license
- Community support
Configuration for Premium Pack
Configure your settings in simple steps to start using the premium features.CKEditor Pack Premium Version Setup Guide
Step 1: Access Extension Configuration
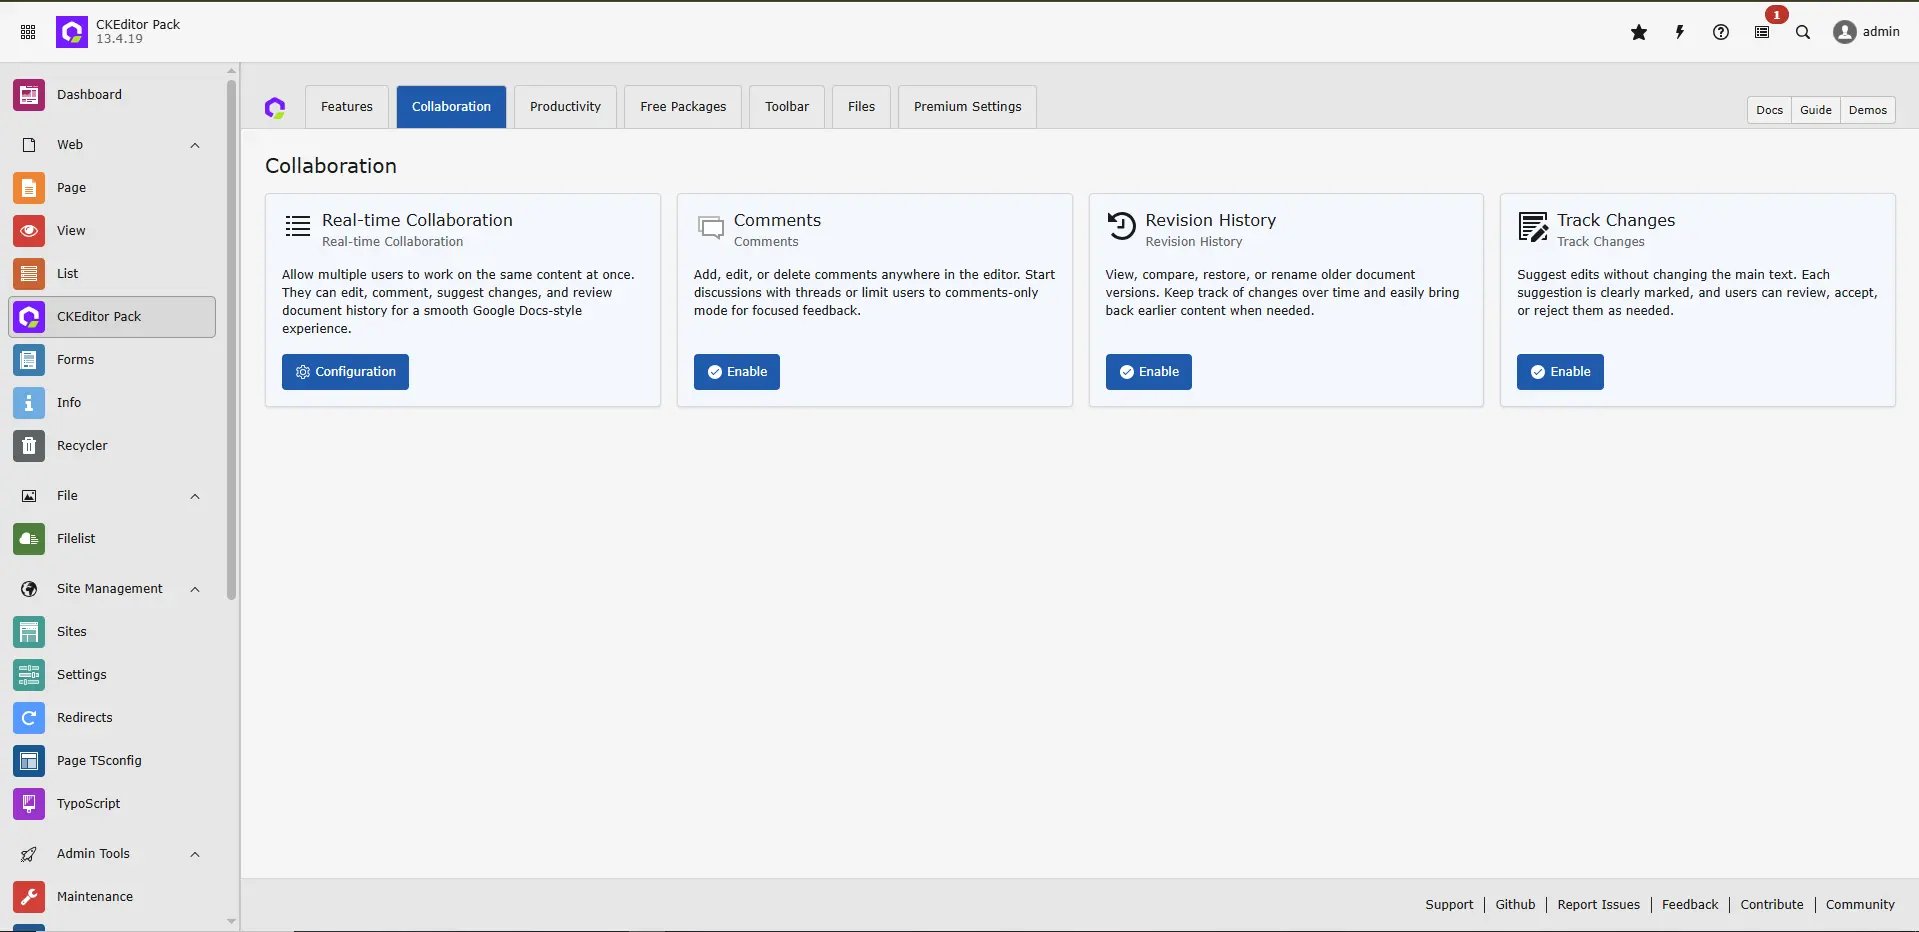
To access and update extension settings:- Go to the CKEditor Pack backend.
- Navigate to CKEditor Pack > Premium Settings.
- Click on Feature Configuration.
Step 2: License Key Setup Overview
Certain premium CKEditor 5 features require a valid license key. This includes:- Real-Time Collaboration
- Revision History
- Track changes
- Comments
- Productivity Pack
- Features Pack
- Collaboration Pack
For CKEditor v44.0.0 and above, these features will only work with valid license key.
Create a CKEditor Account
To begin, you must have a CKEditor customer account.- Go to the CKEditor Customer Portal.
- Click Create an account.
- Complete the registration using your business email.
- Once registered, you can access all your licenses and product configurations.
Log In to the Customer Portal
- Visit the Customer Portal login page.
- Enter your credentials and sign in.
- Once logged in, you will see your dashboard with available products and licenses.
Access the Licensing Section
- Navigate to the “Subscriptions” or “License Keys” tab.
- Select the CKEditor 5 product your team is using.
- You will now see all available license keys associated with your subscription.
Generate Your License Key
CKEditor automatically creates a default license key when you subscribe. You can generate additional keys if you’re working on multiple environments (e.g., staging, development, production). To generate or retrieve a key:- Click “Create License Key” (if required).
- Provide an environment name (e.g., production, dev, staging).
- Do not use spaces in the name.
- Save the key.
- Copy this license key for the next step.