

Old and new at a glance
New way: headings (version 14)
Use the built-in Heading 1 and Heading 2 styles of Google Docs. Each of these headings starts a new content element, and all content below it belongs to that element, up to the next Heading 1 or Heading 2. You do not add any markers.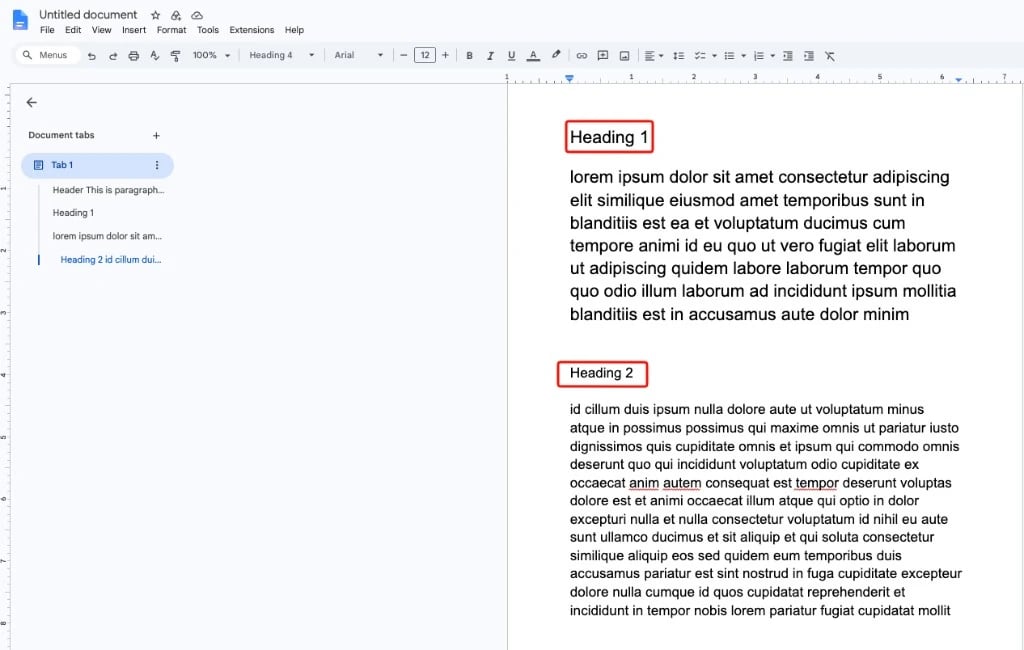
Old way: markers (versions 2.x)
In the older versions, a marker line inside the Google Doc told the extension which content element to create.
All content between two markers became one content element. A Heading 1 directly after a marker became the header of the element.
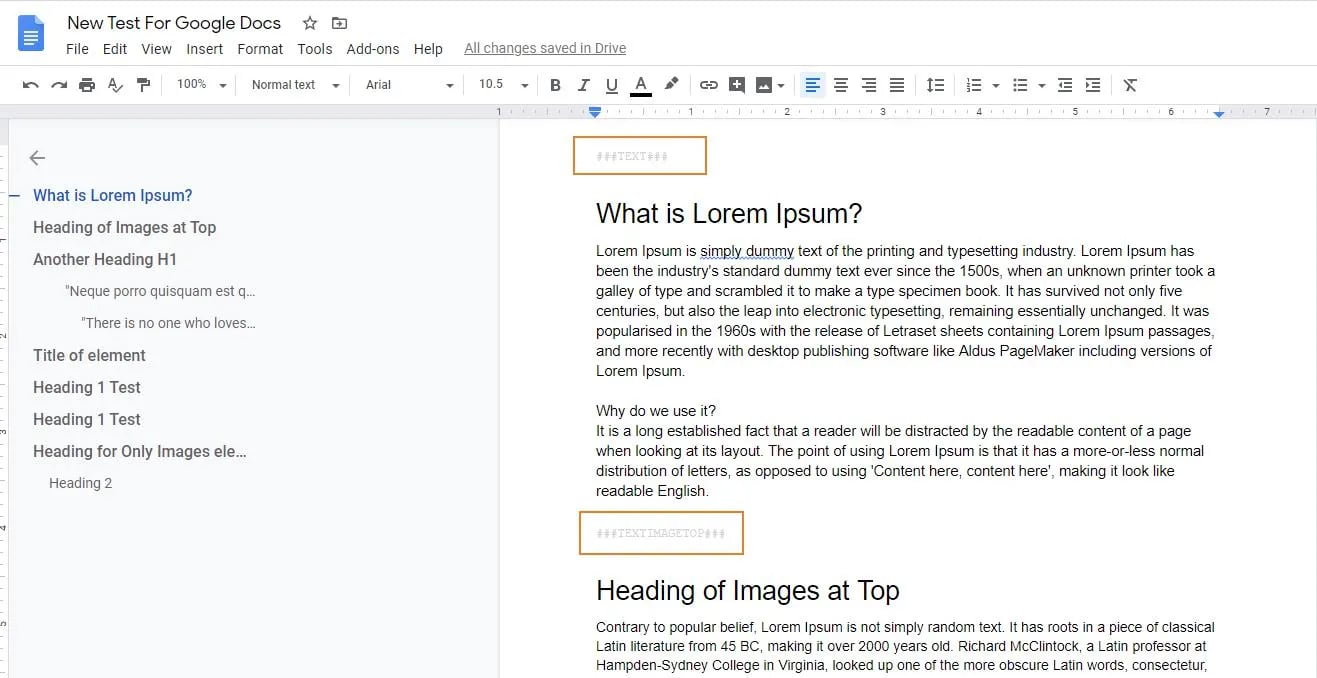
Move a Doc from markers to headings
- Remove the marker lines (for example
###TEXT###) from the Doc. - Give each section a Heading 1 or Heading 2.
- Import the Doc and choose the element type for each section in the import dialog.
Other changes in version 14
- More ways to import. Start an import from the Page module, the List module or the page tree context menu. See Three ways to start an import.
- Default settings. Set default record and image settings once in Global Settings.
- “Docs owned by” filter. Choose which Docs appear in the import list: Owned by anyone, Owned by me or Not owned by me.
- New TYPO3 and PHP versions. Supports TYPO3 12.4, 13.4 and 14, with PHP 8.1 or newer.
- Official Google API client. The extension now uses the official Google API client library.